
Candle making
Candle making and candle decorating
Melt, pour, light. The slowest kind of magic.
Few things change a room faster than a candle you poured yourself. Soy wax, a wick, a vessel you love — and twenty quiet minutes. Here you will find bubble candles, oyster-shell tealights, dried-flower candles and the decorating ideas that turn plain pillars into something worth giving away.
Start with soy wax
Soy wax melts at a low temperature, pours cleanly and burns slowly — which makes it the friendliest wax to learn on. Melt, add fragrance if you want it, centre the wick and pour.
The only real rule: let the candle cure for a day before the first burn, and trim the wick to about 5 mm every time. That is the difference between a candle that tunnels and a candle that burns edge to edge.
Creativity in a Box — soy candles
Wax, wicks, vessels and instructions in one box. The bubble candle is our bestseller for a reason.
Shells, crystals and dried flowers
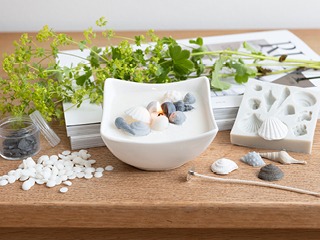
Pour into an oyster shell, press dried flowers into the surface, drop an aventurine into the wax — small gestures, big difference.
Make the holder too
Air-dry clay tealight holders and sculptural vases — the perfect companion project while the wax sets.
Candle making for groups
Sized for a table of makers: birthdays, team evenings, in-store workshops.
How long does a poured candle need to set?
Touch-dry within a couple of hours, but give it 24 hours before the first burn so the wax cures fully and the scent settles.
Which wick size do I need?
Wick thickness follows the diameter of your vessel — a wide container needs a thicker wick or the flame will tunnel down the middle. Our kits are pre-matched, so start there.